Create KPIs
updated 11 hours ago
In this article:
Key Performance Indicators (KPIs) are essential for measuring the ongoing performance and effectiveness of various aspects of your organisation. In Beam, KPIs function differently from Objectives and Key Results (OKRs), focusing on tracking consistent metrics over time rather than achieving specific targets. Here's how to start with KPIs in Beam, from enabling the feature to creating your KPIs.
For Admins
Before exploring KPIs, ensure the feature is activated. If you don't see the option to create KPIs on the Goals page, your admin likely has not enabled them.
Understanding KPIs in Beam
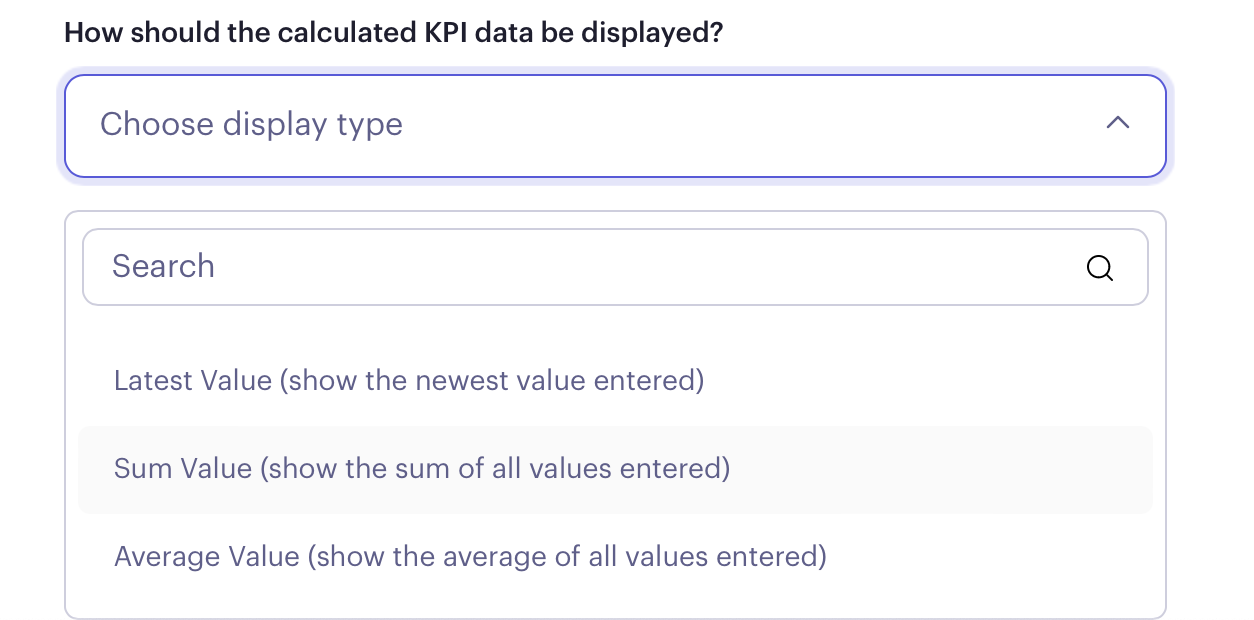
KPIs in Beam are designed to measure performance indicators without specific end targets. They track metrics consistently over time, offering different methods of measurement:
Latest Value: The KPI reflects the most recent value entered.
Sum: The KPI is the total of all values entered over time.
Average: The KPI shows the average of all entered values.
Creating a KPI
To create a KPI in Beam, follow these steps:
1. Navigate to Goals: Click the "Create" dropdown.
2. Select 'Create KPI': This option is available once KPIs are enabled.
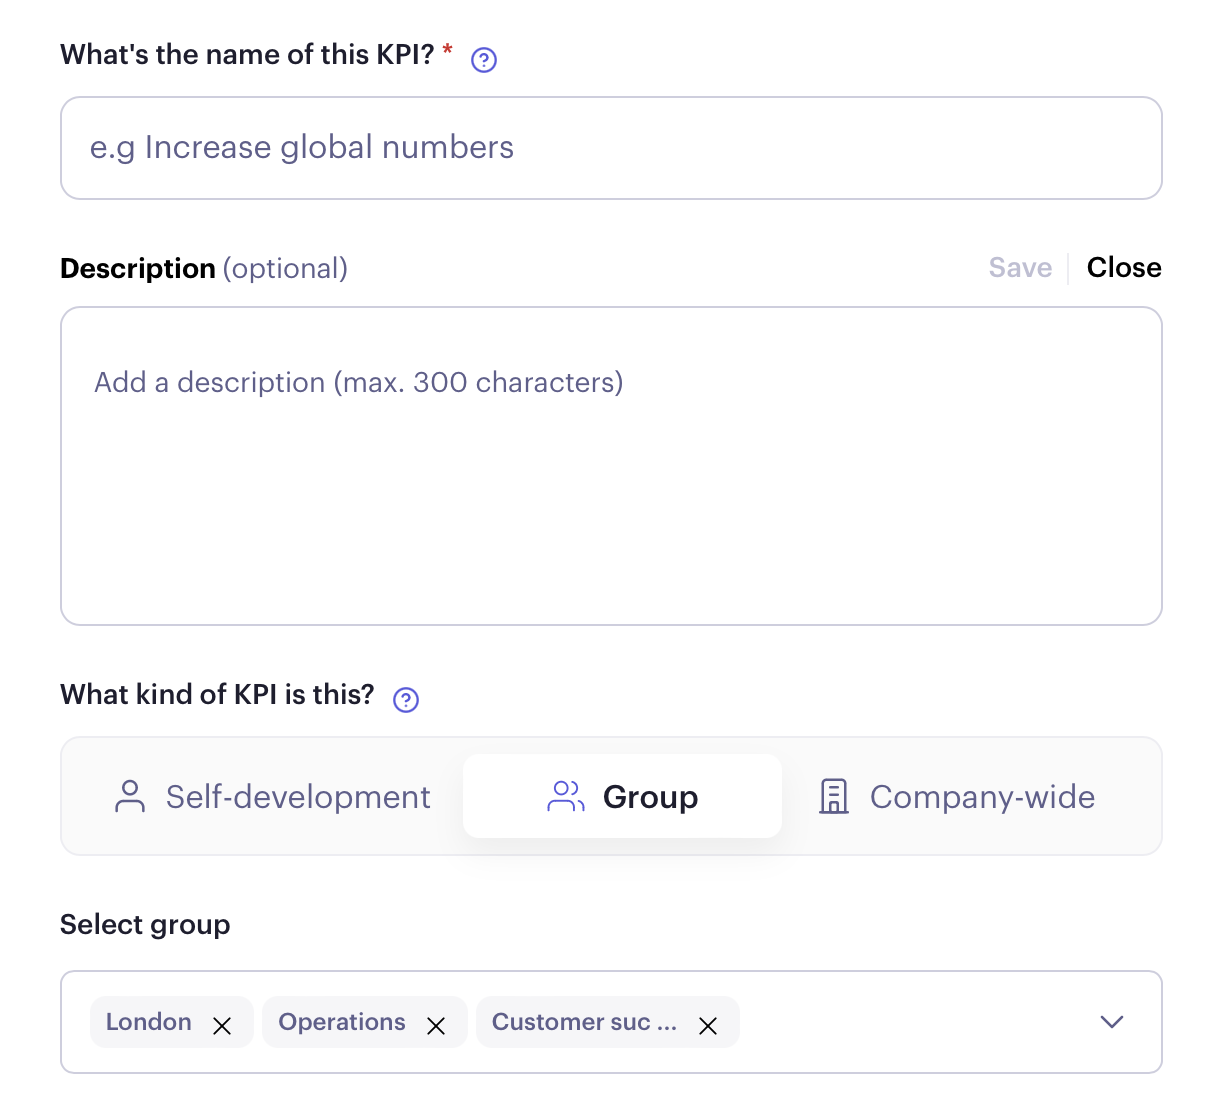
Step 1: Enter KPI Details
Name: Provide a name for your KPI.
Description (Optional): Add any relevant details about the KPI.
Scope: Specify whether the KPI is for self-development, a group, or company-wide. For groups, you can select multiple as needed.
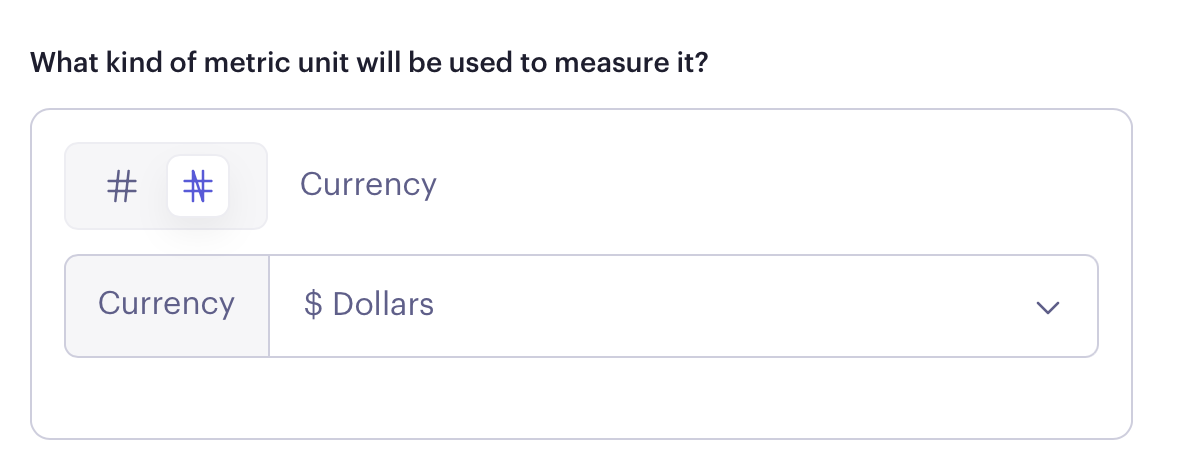
Step 2: Choose Metrics
Decide if the KPI will be measured by numbers or currency.
Step 3: Select the KPI type
The KPI type can be positive KPI, where if the KPI is above target, then it means all is well, or negative KPI, where if the KPI is above target, it is negative.

Step 4: Select Display Method
You can choose how you want the KPI data to be displayed: latest, sum, or average value.
Step 5: Publish Your KPI
Publish: Once you've entered all the necessary information and chosen your settings, click "Publish KPI" to complete the process.
Was this article helpful?